
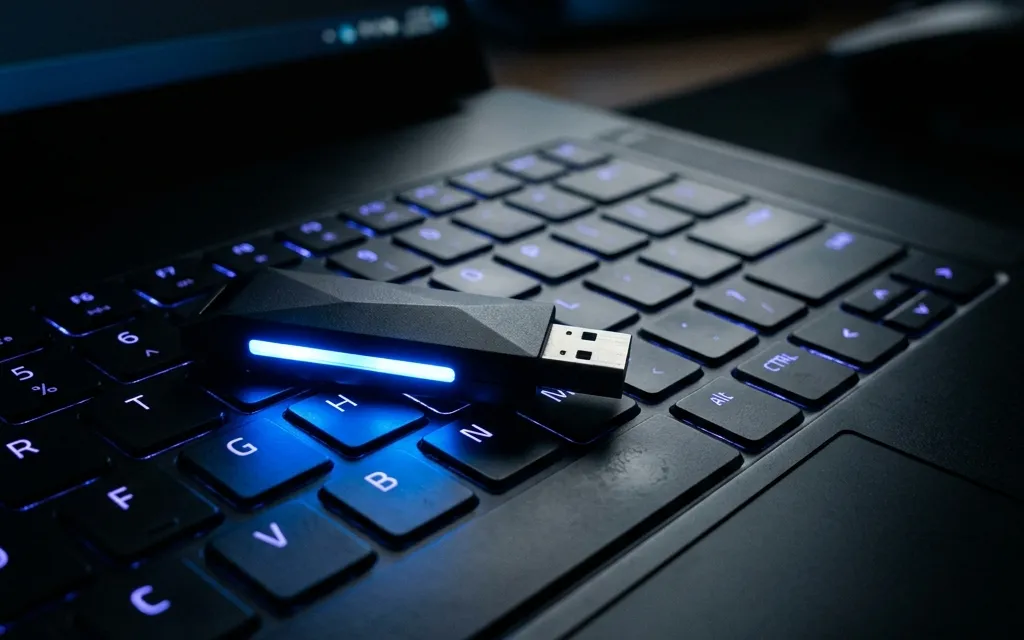
Most people never choose their computer operating system. They buy a laptop and accept the software that comes preloaded on the hard drive. For decades, that software has almost always been Windows. The system feels normal because it is familiar, but the user does not own the environment. Escaping this cycle requires moving to Linux. The transition scares new users because they assume they need to understand advanced computer architecture. The reality is much simpler. Anyone can test a new operating system without altering their current computer by using a live USB stick.
Part One: Quick Start
Before starting the transition, a user needs to gather a few items. The process requires a Windows computer connected to the internet and a blank USB flash drive. The drive must hold at least eight gigabytes of data, though sixteen gigabytes is better. A blue plastic tab inside the physical plug usually indicates a faster version three drive. The user will need about an hour of time and the authority to restart the machine.
Many beginners worry they are about to erase their internal hard drive. Unless a user intentionally clicks a button labeled Install Linux, nothing is written to the computer. Running a live system is like borrowing another operating system for a while. The only files that will be erased are the old documents currently sitting on the USB drive. The Windows files will remain untouched.
Booting simply means telling the computer where to start. Normally, the machine starts Windows from the internal drive. When booting from a USB stick, the computer temporarily starts Linux instead. The process follows a simple timeline. The user downloads the Linux software and copies it onto the USB drive. They restart the computer and choose the external stick. The Linux environment starts, and the user explores the new desktop. When they finish, they shut down the computer and remove the stick. When the machine turns on again, Windows returns normally.
Building the Live Drive
The process begins by acquiring the operating system. Developers package the entire Linux environment into a single digital archive known as an ISO file. A user visits the official website for their chosen version and downloads this file. The file acts as a complete blueprint.
A user cannot simply drag and drop the ISO file onto a blank USB stick. This is a common mistake. The computer requires the data to be written in a special format. To solve this, the user downloads a flashing program like BalenaEtcher. The user inserts the blank USB stick into the computer and waits for Windows to recognize it. They open the flashing software and click the button to flash from a file. They select the downloaded ISO blueprint and point the program to the USB stick. After verifying the correct drive is selected, the user clicks flash and waits.
The software unpacks the blueprint and structures the code onto the drive. This process erases any old data on the stick. Writing an entire operating system takes five to twenty minutes depending on the speed of the hardware. The computer is not frozen even if the progress bar pauses. The user must not remove the drive or close the program while the physical light on the stick is blinking. When the software finishes, the user safely ejects the drive.
Controlling the Boot Sequence
When a computer turns on, a hidden piece of software wakes up the physical hardware. This startup settings screen decides where to look for an operating system. By default, the system always looks at the internal hard drive first. To use the new live USB stick, the user must interrupt this process.
There are two methods to change the boot order. The first method uses a temporary boot menu. The user leaves the USB stick plugged into the machine and restarts the computer. Immediately after the screen goes black, the user repeatedly taps a designated key on the keyboard. This key changes depending on the hardware manufacturer. Dell, Acer, and Lenovo computers usually rely on the F12 key. HP machines often require pressing Escape followed by F9. ASUS computers favor Escape or F8, while MSI uses F11. Striking the correct key opens a simple menu listing all connected storage drives. The user selects the USB stick and presses enter.
If the temporary menu does not appear, the user must try the second method and enter the main setup screen. They restart the computer and tap the Delete key or the F2 key. Inside this main menu, the user navigates using the arrow keys to find a section labeled Boot Order or Boot Priority. They move the USB stick to the top position above the internal hard drive. They save the changes and exit the menu.
Modern motherboards feature a digital lock known as Secure Boot. Manufacturers designed this lock to prevent unauthorized code from taking control of the machine. If the computer refuses to recognize the Linux drive, this lock might be blocking it. Fortunately, many modern Linux versions work fine with this setting left alone. If a block occurs, the user must reenter the startup settings screen, find the security tab, and turn Secure Boot off.
Exploring the New Environment
When the computer restarts and checks the USB stick, a sequence of visual changes occurs. The user sees a black screen followed by the manufacturer logo. A short text menu might appear before the screen transitions to the Linux logo. Finally, the new desktop appears.
The new interface operates much like Windows. A taskbar runs along the edge of the screen holding open programs. A main menu in the corner provides access to a web browser, a file manager, and the system settings. The user is free to explore everything. They might see an icon on the desktop called Install Linux. They must ignore this icon for now. Everything else is safe to open.
Many beginners wonder how to return to their normal computer. The process is very simple. The user clicks the main menu and selects shut down. Once the screen goes dark, they pull the USB drive out of the port. They press the physical power button to turn the machine back on. The computer checks the internal hard drive, and Windows starts normally.
Part Two: Understanding What Happened
A standard live USB provides a temporary testing ground. Any file saved or setting changed during the session disappears when the computer loses power. This creates a risk free environment for a beginner, but it lacks long term utility.
To solve this, a user configures the drive with persistence. A persistent live drive splits the physical memory into two sections. The first section holds the read only operating system. The second section acts as a dedicated storage space to remember changes. A user can install programs, save passwords, and store documents in this second section. The progression moves from a temporary live session, to a persistent pocket computer, and finally to a full installation on the internal drive.
Carrying a persistent live USB drive offers enormous utility. If a main work computer suffers a hard drive failure or catches a virus, the user plugs in the live drive and continues working. The drive turns any compatible piece of hardware into the user's personal machine.
Part Three: Troubleshooting and Reference
Several common problems can occur during the transition. If the USB drive does not appear in the startup menu, the flashing process likely failed or the computer requires a different boot key. If the screen goes black and stays black, the computer might be struggling to load the visual graphics. If the keyboard or the wireless internet card do not function, the chosen Linux version might lack the correct code needed to run that particular piece of hardware. In these situations, the user simply shuts the computer down, removes the stick, and returns to Windows to research a solution.
The Linux environment is not a single product. It is a foundation that different groups build upon to create distinct versions. A new user must choose the correct version for their hardware. Mainstream versions like Ubuntu or Linux Mint look and feel similar to modern commercial software. They feature polished graphics and require at least four gigabytes of internal memory. Older hardware requires a lean version like Lubuntu. These lean systems strip away the demanding visual effects and focus entirely on core functions, allowing an old processor to run quickly.
As the user gains experience, they will encounter deeper technical concepts. The basic startup settings screen is actually divided into two generations. Older computers use the Basic Input Output System, which presents a raw text menu. Modern computers replaced this primitive system with the Unified Extensible Firmware Interface, which initializes hardware faster and provides a visual menu that supports mouse movement.
Before any operating system can load, the computer must understand how the physical space on the drive is organized. This organization is called a partition schema. Older computers rely on the Master Boot Record, which limits the size of the drive. Modern computers require the GUID Partition Table, which supports massive storage drives and complex internal layouts. Most simple flashing tools handle these decisions automatically, allowing the beginner to focus on the operating system itself.
The transition away from commercial software is a journey. A user should start by trying a temporary live session. Once they feel comfortable, they can create a persistent drive to save their work. They can learn the new desktop, install a few applications, and back up their important files. Eventually, they might install Linux alongside Windows on the internal hard drive. When the fear of the unknown fades, the user can replace Windows entirely.
Glossary of Terms
Boot means to start a computer. BIOS is an older startup software. UEFI is modern startup software. An ISO is a complete digital blueprint of an operating system. To flash means to write an operating system to a USB drive. A live USB is a Linux environment running directly from a portable stick. Persistence allows a live drive to save changes between sessions.